
For Molly's 4th birthday, she wanted to have a Pinkalicious Party! She LOVES the Pinkalicious book series, and everything pink for that matter! So the Sat. after her birthday, we had family and family friends over for a Pinkalicious afternoon. :)
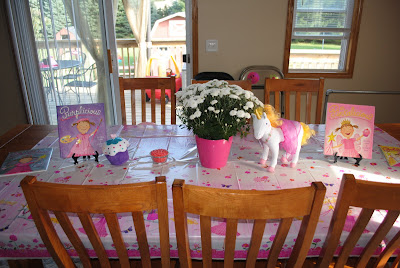
We had lots of Pinkalicious decorations, including Goldie, from Goldilicious on the table.

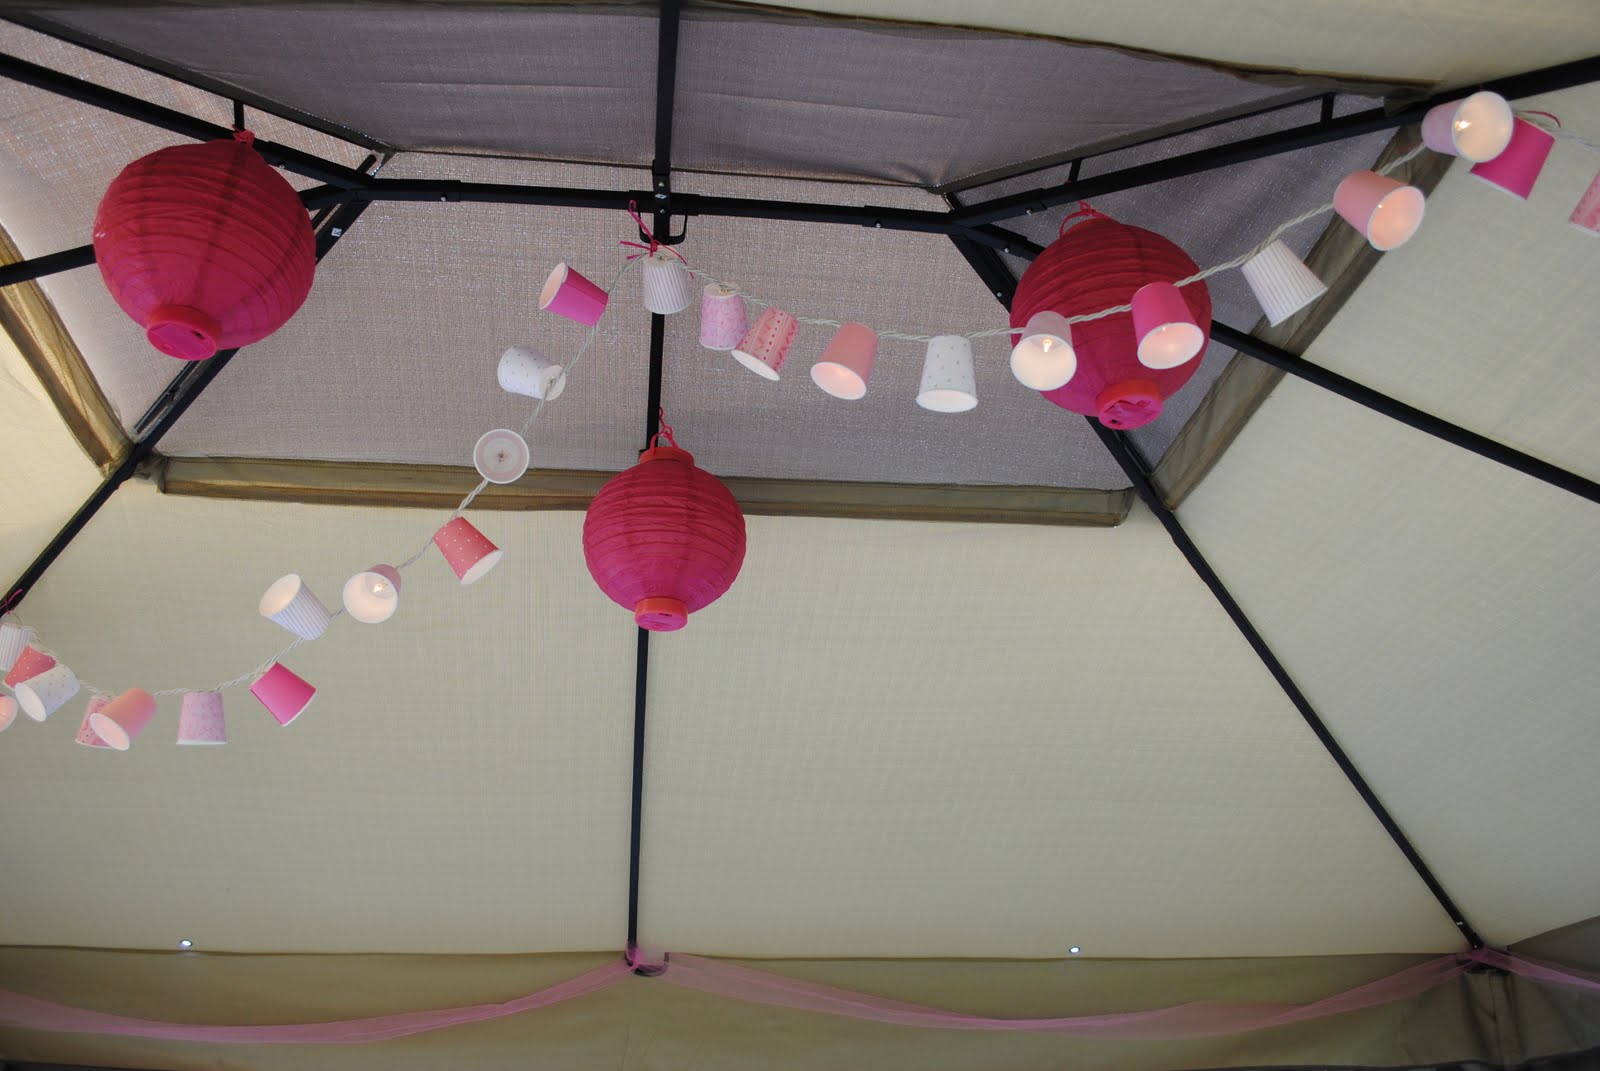
It ended up being a nice day, so I decorated the deck with these fun lights made from plastic cups!
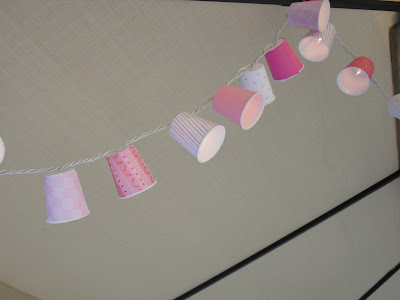
I just love this craft! I saw it on
Pinterest, it's from
Better Homes and Gardens, you can see the how-to
here. I just used white cups, a bunch of pink papers, double sided tape, and an exacto knife to cut an X in the top. It is so easy to pull the cups off and replace them with another color for other parties. :)
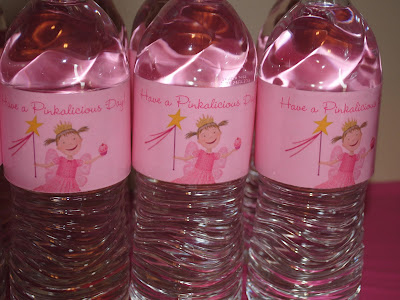
Pink water bottle labels, I just printed the picture and words onto pink paper, and used clear packaging tape to put them on water bottles.

Pink lemonade, like in Pinkalicious and the Pink Drink! Thanks to Rachelle for letting me borrow this awesome lemonade drink dispenser!

A super yummy PINK desert bar, complete with pink cookies, pink marshmellows, pink gumballs, pink chocolate wands, pink candy, and of course pink cupcakes!!!

The pink star wands are just melted pink chocolate in a star mold I got from Hobby Lobby. :)
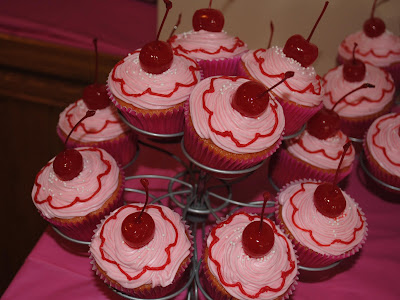
I tried to make the cupcakes look exactly like the ones Pinkalicious eats in the book.
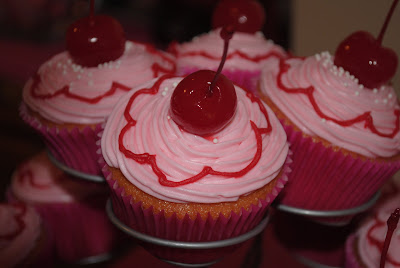
They are just strawberry cupcakes, in pink cupcake liners. Then I just put pink vanilla frosting on them, white sprinkles, red icing and a cherry on top!
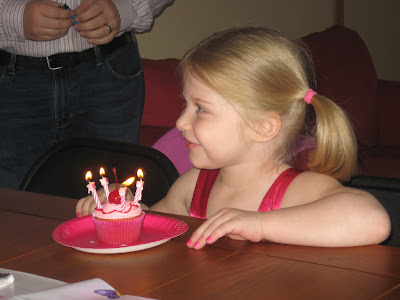
Molly loved them!
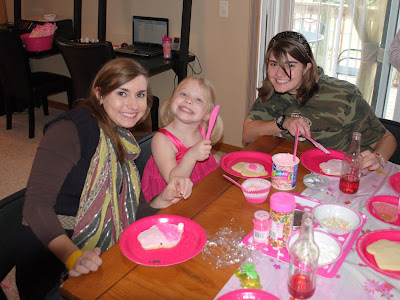
And anyone who wanted to could decorate there own cupcake cookie. Here is Cassie, Molly and Shelby decorating. :)
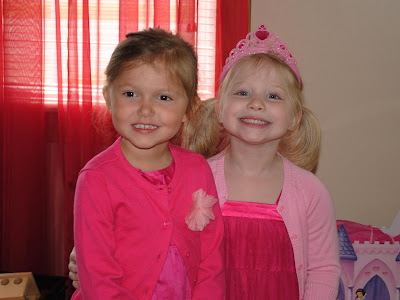
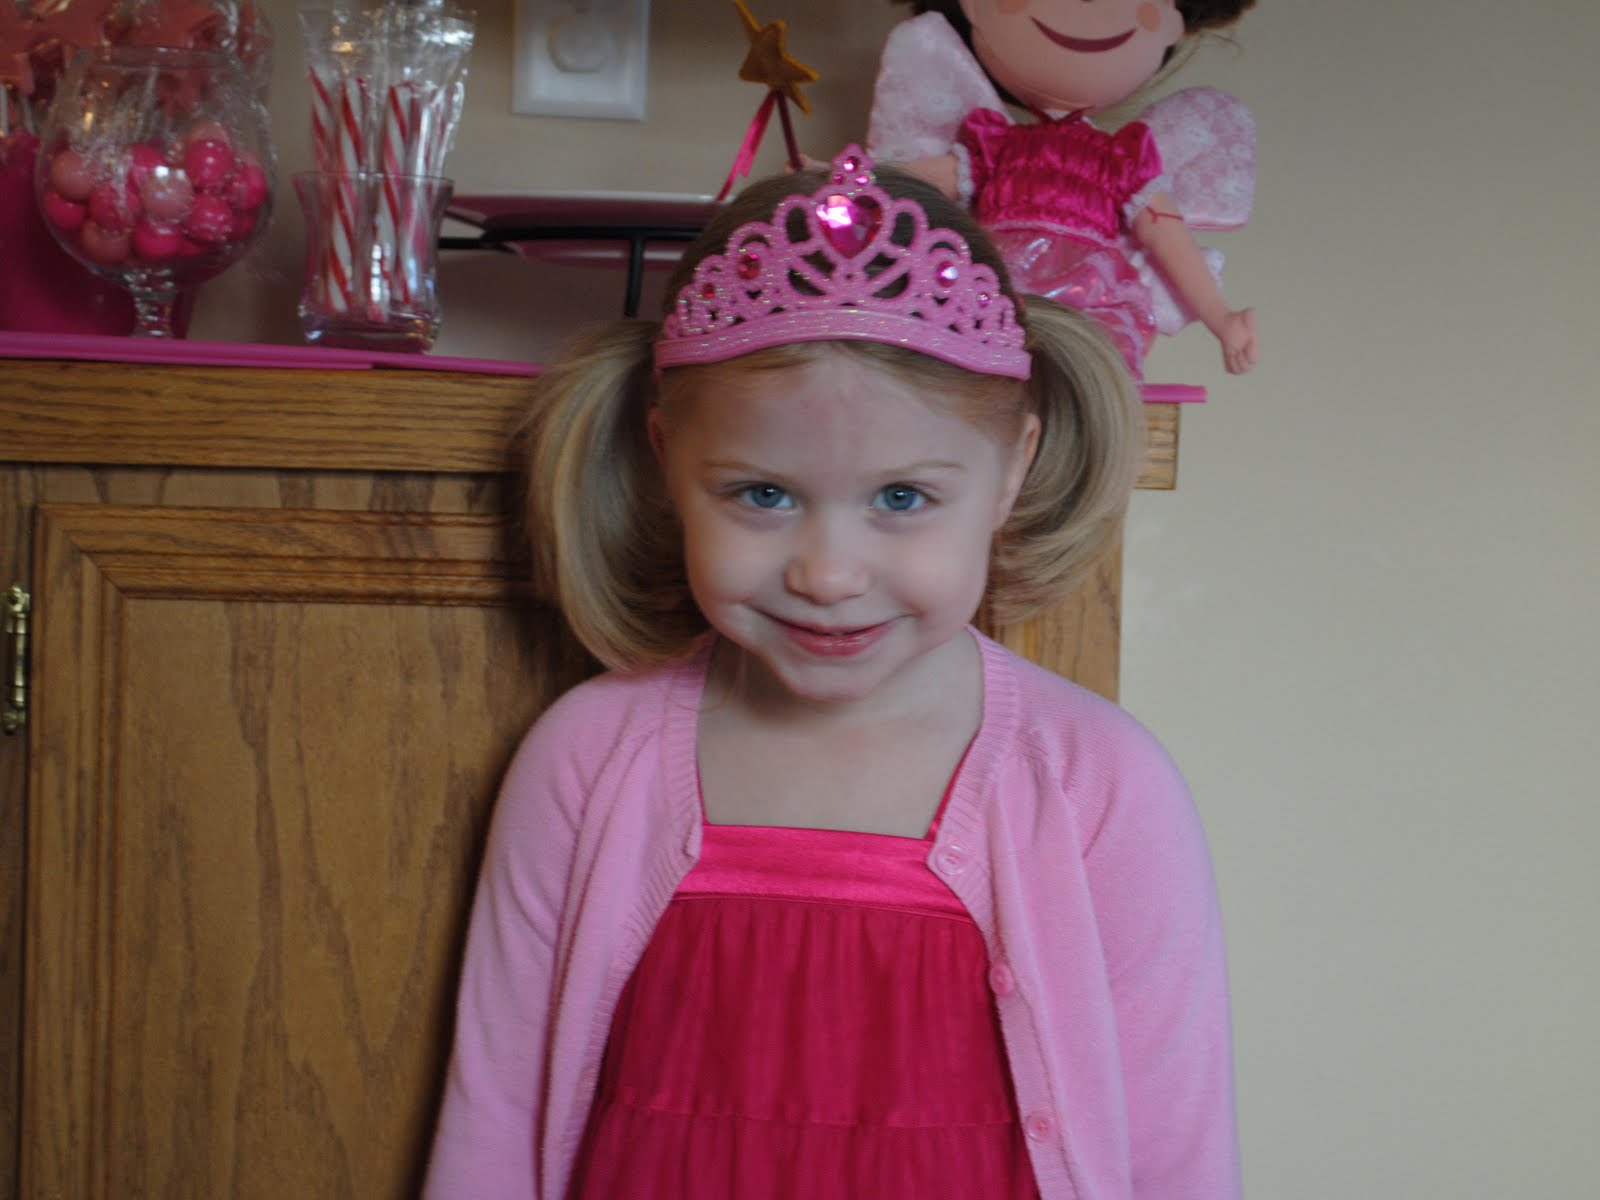
We had all the guest wear pink. Here Molly and her cousin Maisy are showing off there pink. Molly decided she needed to wear her pink crown, because Pinkalicious wears a crown in the book!
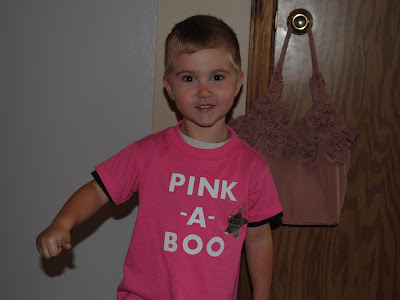
And I made Molly's cousin Dominic a Pink-A-Boo shirt (just like Pinkalicious's brother Peter says when he turns pink) using Heat-Transfer paper.

We had crowns and wands for Molly and her cousins to decorate like Pinkalicious has in the book. Also, bubbles and Pinkalicious coloring pages to keep the kids busy!

Here is Nora modeling her crown. :)
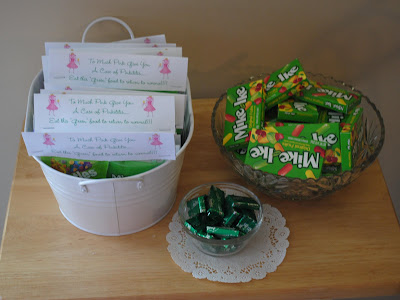
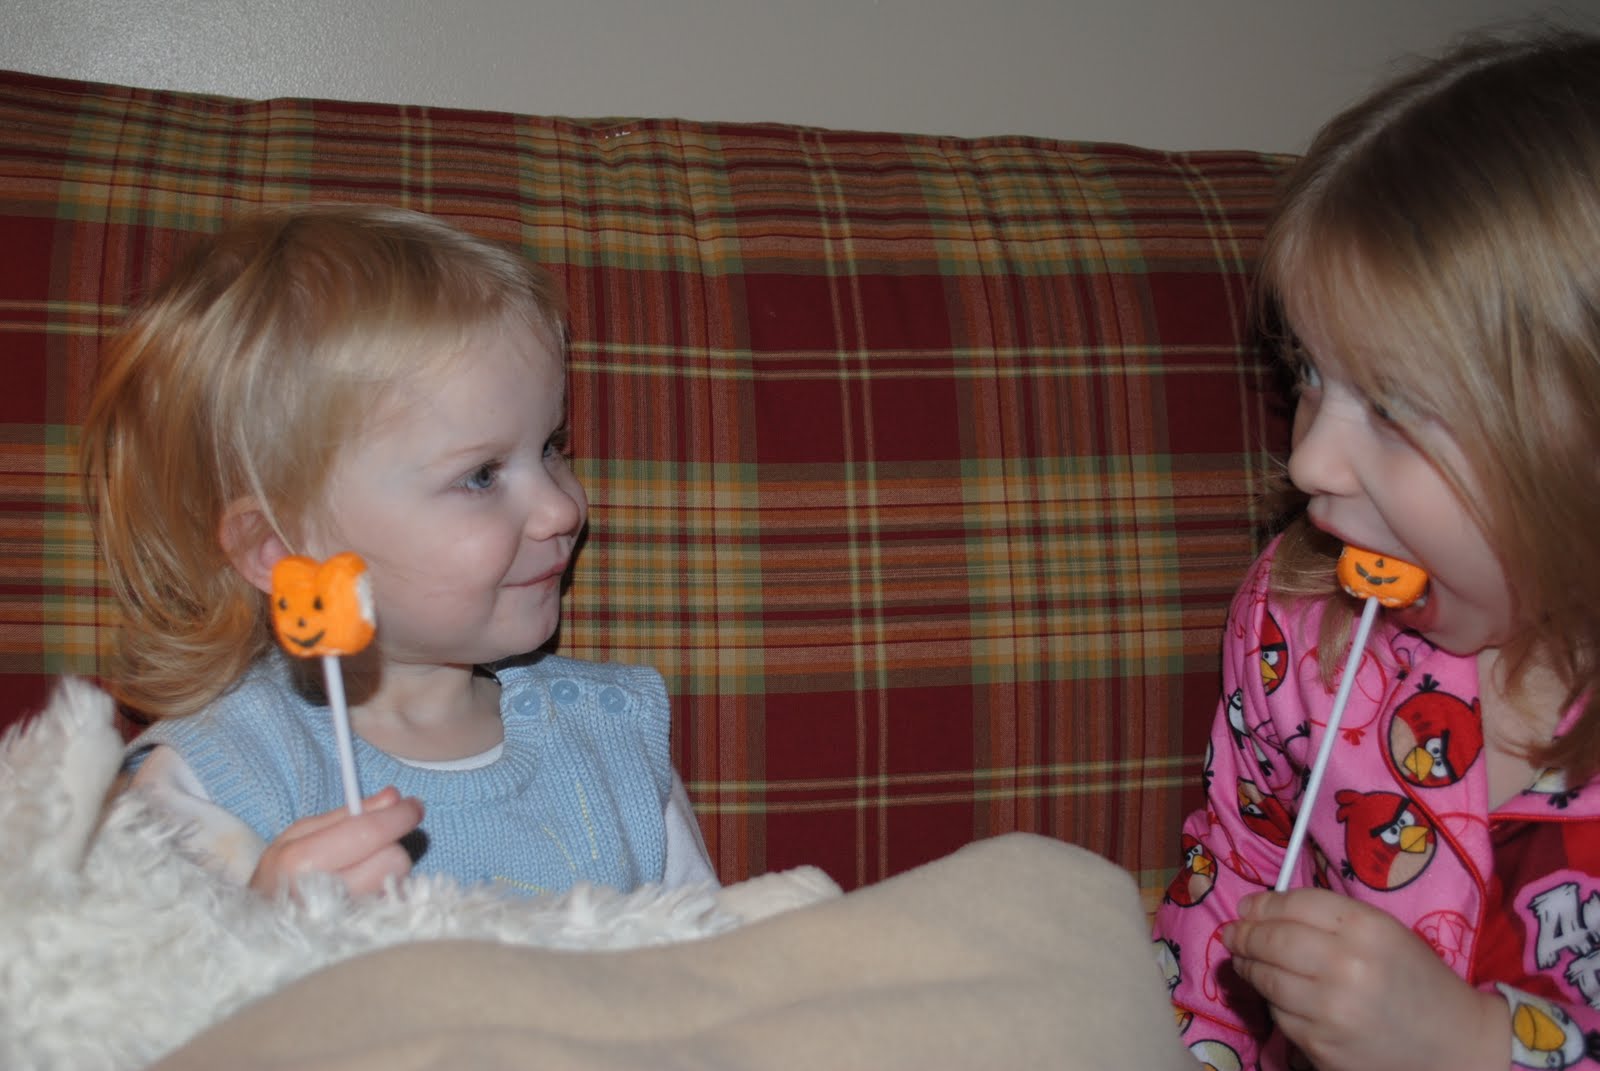
And we had "Green" food for everyone to take when they left to cure a case of Pinkatitis!
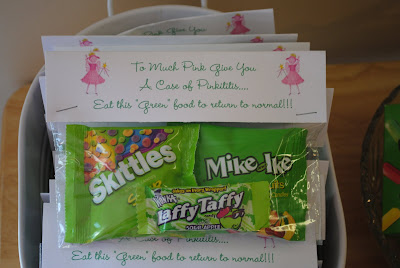
In the book, if you eat to much pink you turn pink! So the only cure is to eat "Green" food.
We had a lot of fun! And are so grateful for everyone who came to celebrate with us! This is just a few of my 100 or so pictures of the party, lol, but since this post it getting a little picture heavy, I'll wrap it up here. :)

 It's a little hard to see from the picture, but since I had out my glass etching stuff the other day, I had to etch these fun candy jars. :) I used cheap little jars from Hobby Lobby and etched C-A-N-D-Y on the fronts. I figured I can change the candy each season and keep using them. I'm thinking I can use red and green M&Ms for Christmas.
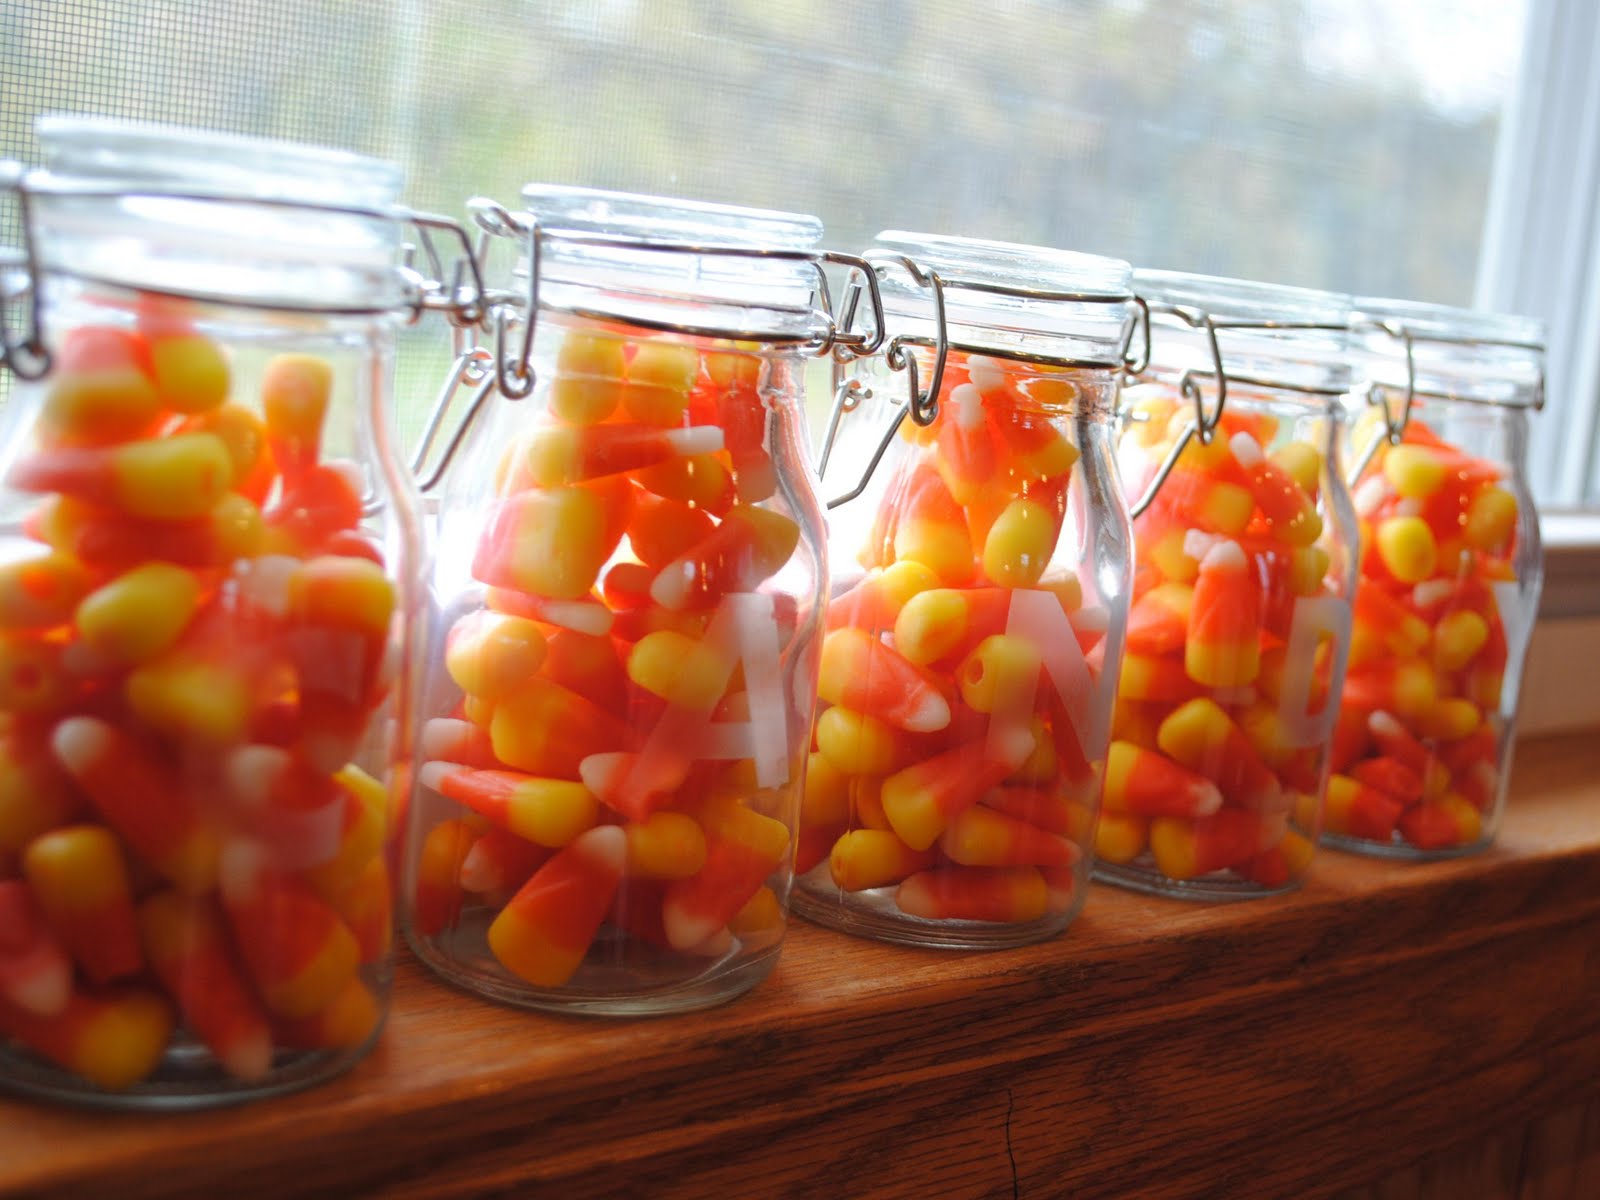 The letters look much darker in real life, but in this picture I think you can see the glass etching a little better. (Yup, Randal is going to start hiding the glass again, he's worried I may etch everything, it is SO addicting.)


